Mitsubishi PMFY-P08NBMU-E Service Manual
Browse online or download Service Manual for Split-system air conditioners Mitsubishi PMFY-P08NBMU-E. Mitsubishi PMFY-P08NBMU-E Service manual User Manual
- Page / 36
- Table of contents
- TROUBLESHOOTING
- BOOKMARKS
- R410A / R22 1
- FEATURES 2
- TECHNICAL CHANGES 2
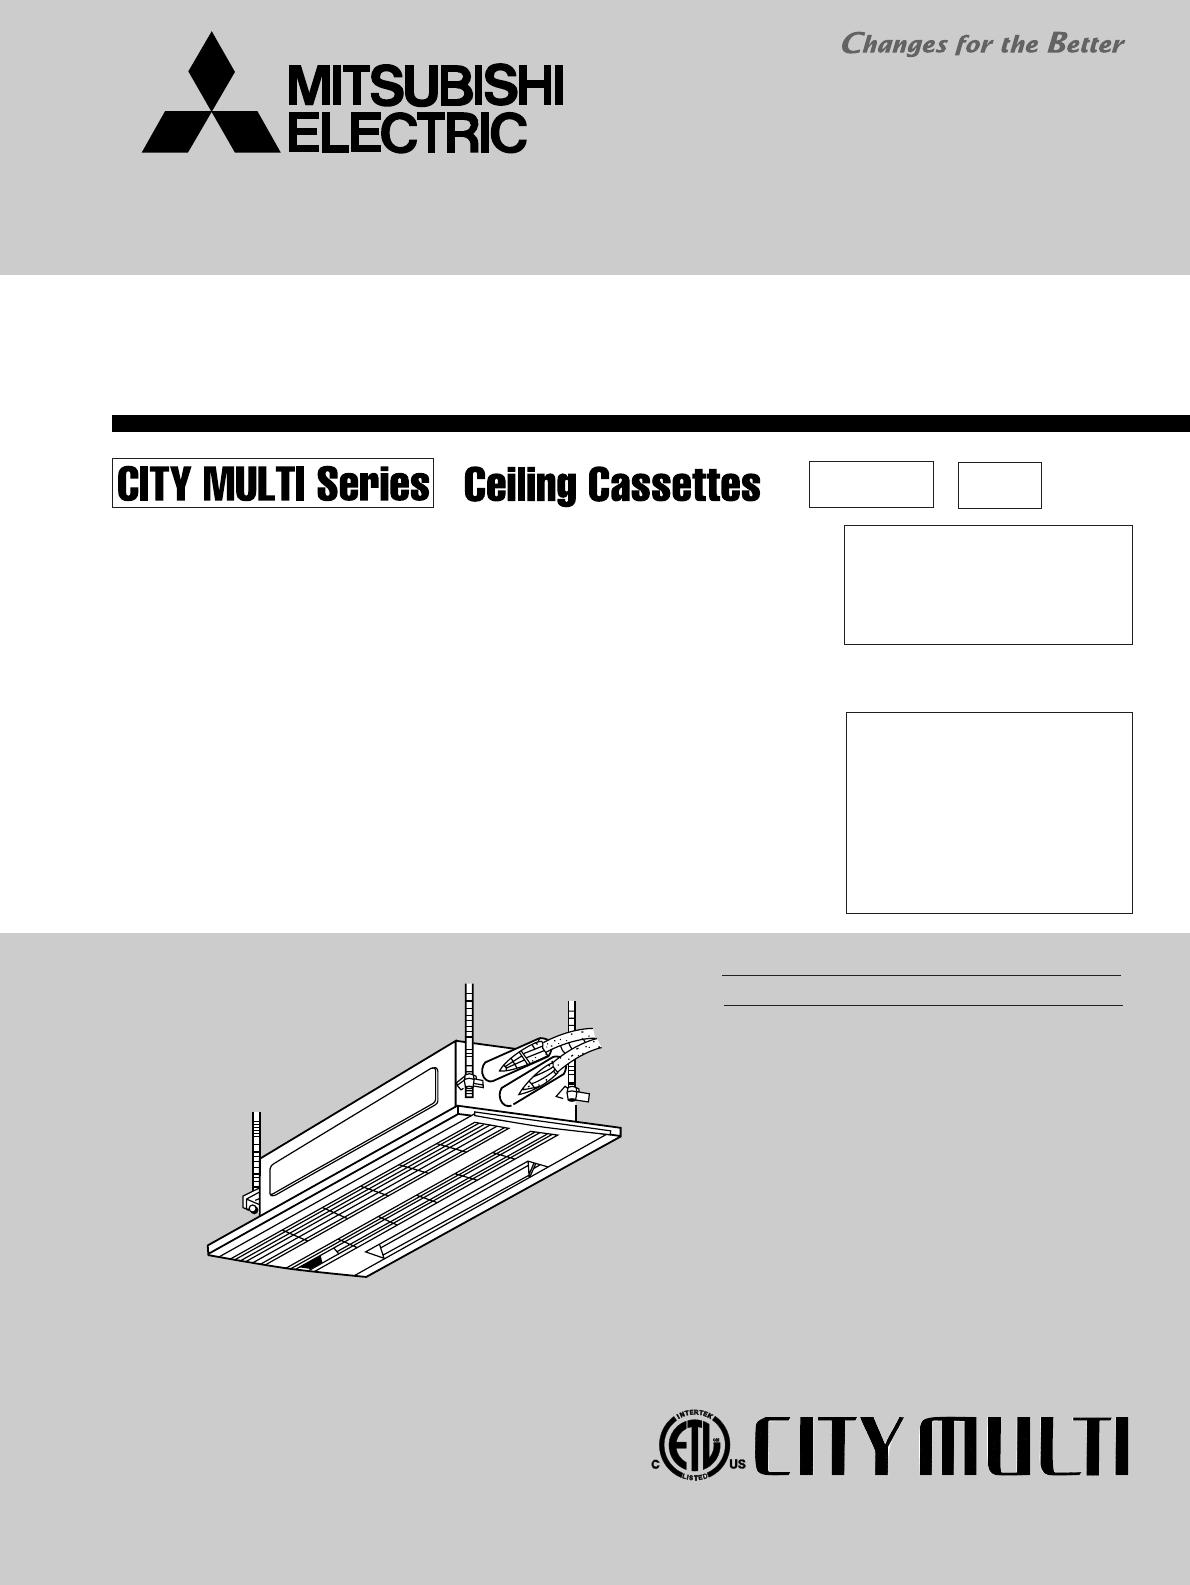
- PART NAMES AND FUNCTIONS 3
- ● Wired remote controller 4
- SPECIFICATION 5
- MICROPHONE 8
- OUTLINES AND DIMENSIONS 9
- WIRING DIAGRAM 10
- See fig : w1 11
- REFRIGERANT SYSTEM DIAGRAM7 12
- 8 MICROPROCESSOR CONTROL 13
- From the preceding page 14
- 8-2. DRY OPERATION 15
- 8-3. FAN OPERATION 16
- 8-4. HEAT OPERATION 17
- 8-6. WHEN UNIT IS STOPPED 19
- TROUBLE SHOOTING 20
- Linear expansion valve 21
- Thermistor 22
- (Liquid pipe) 22
- 9-2. TROUBLESHOOTING 23
- 9-3. FUNCTION OF DIP SWITCH 24
- 9-4. TEST POINT DIAGRAM 26
- Air filter 27
- Figure 4 28
- Drain pump 29
- Fan motor 29
- Drain sensor 29
- Line flow fan 29
- PMFY-P · NBMU-E 31
- RG79L094H01 32
- RoHS PARTS LIST 33
Summary of Contents
SPLIT-TYPE, HEAT PUMP AIR CONDITIONERSTECHNICAL & SERVICE MANUALNo. OC341REVISED EDITION-BINDOOR UNITCONTENTS1. TECHNICAL CHANGES·················
106WIRING DIAGRAMNote1.At servicing for outdoor unit, always follow the wiring diagram of outdoor unit.2.In case of using MA-Remote controller, please
11Note1.At servicing for outdoor unit, always follow the wiring diagram of outdoor unit.2.In case of using MA-Remote controller, please connect to TB1
12REFRIGERANT SYSTEM DIAGRAM7Strainer (#100mesh)Strainer pipe (#100mesh)Strainer (#100mesh)Strainer (#50mesh)Heat exchangerThermistor TH21<Room tem
138 MICROPROCESSOR CONTROLPAR-21MAAON/OFFFILTERCHECKOPERATIONCLEARTESTTEMP.MENUBACK DAYMONITOR/SETCLOCKON/OFF˚F˚C˚F˚CERROR CODEAFTERTIMERTIME SUN MON
14→321→Control modesControl details3-1. Drain pump control• Always drain pump ON during the COOL and DRY mode operation.(Regardless of the thermostat
15Control modesControl details1-1. Dry mode temperature is controlled by TH21.Dry mode ON Room temperature ] desired temperature + 2°FDry mode OFF
16Control modesControl detailsSet by remote controller.2. Drain pump Remarks1. Fan TypeFan speed notch4 speeds type [Low], [Medium2], [Medium1], [Hig
17Control modesControl details1-1. Minimum compressor off cycle is 3 minutes.• Room temperature [ desired temperature -2°F ···Thermo ON• Room tempera
18→Control modesControl details2. Fan Remarks2-3. Thermo OFF modeWhen the thermoregulating function changes to OFF, the indoor fan operates in[Extra l
191. Drain pumpControl modesControl detailsHEAT mode for room temperature < Desired temperatureCOOL mode for room temperature ] Desired temperature
22FEATURES1. Fresh Air IntakeAir recycled indefinitely can become stale and stagnant with air quality suffering significantly. Fresh air is theanswer
209TROUBLE SHOOTING9-1. HOW TO CHECK THE PARTSPMFY-P06NBMU-E PMFY-P08NBMU-E PMFY-P12NBMU-E PMFY-P15NBMU-EPMFY-P06NBMU-E1 PMFY-P08NBMU-E1 PMFY-P12NBMU-
214[4365[32[21[1[4[3[2[1Controller boardDrive circuitConnector (CN60)DC12VBrownRedBlueOrangeYellowWhiteM462351BlueBrownYellowOrangeRedWhiteLinear expa
22Output(Phase)Output{11ON{2ON{3OFF{4OFF2OFFONONOFF3OFFOFFONON4ONOFFOFFON<Output pulse signal and the valve operation>22Linear expansion valve o
239-2. TROUBLESHOOTINGNotes · High voltage is applied to the connecter (FAN) for the fan motor. Give attention to the service. · Do not pull out the c
249-3. FUNCTION OF DIP SWITCHPMFY-P·NBMU-E PMFY-P·NBMU-E1Switch Function Remarks<Initial setting>ONOFF12345678910Address boardOperation by switc
25059483726105948372610594837261059483726108F7E6D5C4B3A29108F7E6D5C4B3A291220V(208V)240V(230V)Rotary switchRotary switchSW14ConnectionNo.settingSW5Vol
269-4. TEST POINT DIAGRAMPMFY-P06NBMU-E PMFY-P08NBMU-E PMFY-P12NBMU-E PMFY-P15NBMU-EPMFY-P06NBMU-E1 PMFY-P08NBMU-E1 PMFY-P12NBMU-E1 PMFY-P15NBMU-E1LED
27DISASSEMBLY PROCEDURE10OPERATING PROCEDURE PHOTOS&ILLUSTRATIONS1. Removing the intake grille(1) Press the of the air intake grille.(See figure
283. Removing the nozzleNote when the nozzle is removed.· The insulation material (white) which prevents waterdrop is mounted to the side of vane mot
29OPERATING PROCEDURE PHOTOS&ILLUSTRATIONS5. Removing the drain pump (1) Remove the panel.(2) Unhook the claw in the middle of nozzle and remove t
3PART NAMES AND FUNCTIONS3Guide vaneAir flow can be changed to horizontalby moving the guide vane to the left or right.Air intakeReturns air from room
3011PARTS LIST (non-RoHS compliant)PANEL PARTS FORPMFY-P06NBMU-E PMFY-P08NBMU-E PMFY-P12NBMU-E PMFY-P15NBMU-EPMP-16BMU123456789101112221112121AIR O
31FUNCTIONAL PARTSPMFY-P06NBMU-EPMFY-P08NBMU-EPMFY-P12NBMU-EPMFY-P15NBMU-E1234567891011121314151617181920212223111111111111111 11111111111111111111111
32ELECTRICAL PARTSPMFY-P06NBMU-E PMFY-P08NBMU-E PMFY-P12NBMU-E PMFY-P15NBMU-E123456TB2TB5TB15A.BI.BTERMINAL BLOCKTERMINAL BLOCKTERMINAL BLOCKADDRESS B
3312RoHS PARTS LIST PANEL PARTS FORPMFY-P06NBMU-E PMFY-P08NBMU-E PMFY-P12NBMU-E PMFY-P15NBMU-EPMFY-P06NBMU-E1 PMFY-P08NBMU-E1 PMFY-P12NBMU-E1 PMFY-P15
34FUNCTIONAL PARTSPMFY-P06NBMU-EPMFY-P08NBMU-EPMFY-P12NBMU-EPMFY-P15NBMU-EPMFY-P06NBMU-E1PMFY-P08NBMU-E1PMFY-P12NBMU-E1PMFY-P15NBMU-E11234567891011121
35ELECTRICAL PARTSPMFY-P06NBMU-E PMFY-P08NBMU-E PMFY-P12NBMU-E PMFY-P15NBMU-EPMFY-P06NBMU-E1 PMFY-P08NBMU-E1 PMFY-P12NBMU-E1 PMFY-P15NBMU-E11234567TB2
HEAD OFFICE : TOKYO BLDG., 2-7-3, MARUNOUCHI, CHIYODA-KU, TOKYO100-8310, JAPANcCopyright 2005 MITSUBISHI ELECTRIC ENGINEERING CO., LTD.Distributed in
4● Wired remote controller●●˚F˚C˚F˚CERROR CODEAFTERTIMERTIME SUN MON TUE WED THU FRI SATONOFFHrAFTERFILTERFUNCTIONONLY1Hr.WEEKLYSIMPLEAUTO OFFNote:“PL
54SPECIFICATION4-1. SPECIFICATIONSNote 1. Rating conditionsCooling: Indoor: D.B. 80°F W.B. 67°Foutdoor: D.B. 95°F W.B. 75°FHeating: Indoor: D.B. 70°
64-2. ELECTRICAL PARTS SPECIFICATIONSParts nameService Ref.SymbolTH21TH22TH23FUSEMFMVDPDSLEVTB2TB5TB15Resistance 30˚F/15.8k", 50˚F/9.6k", 70
74-3. AIR CAPACITY TAKEN FROM OUTSIDEPMFY-P·NBMU-E series are capable of taking air from outside. When taking air from outside, the duct fan is used.T
84-4. NOISE CRITERION CURVES90807060504030201063 125 250 500 1000 2000 4000 8000APPROXIMATE THRESHOLD OF HEARING FOR CONTINUOUS NOISENC-60NC-50NC-40NC
95OUTLINES AND DIMENSIONSDetails of fresh air intake holeKnockout4-{1/8(2.8) Burring hole Fresh air intake hole4-5/16 (110)9-1/16(230)9-1/2(235) or m
More documents for Split-system air conditioners Mitsubishi PMFY-P08NBMU-E

Related products and manuals for Split-system air conditioners Mitsubishi PMFY-P08NBMU-E
 (36 pages)
 (15 pages)
© 2020, manymanuals.com. All rights reserved. | 0.031 s |
 Manymanuals.com
 Manymanuals.de
 Manymanuals.fr
 Manymanuals.it
 Manymanuals.pl
 Manymanuals.cz
 Manymanuals.es
 Manymanuals-pt.com
Comments to this Manuals